

Let’s say, you decided to implement a new platform feature in your app. You read the documentation, checked some tutorials and examples in the internet, you created a sample app and everything worked great. Then you started to integrate it into your existing production app, and here came all the fun.
SiriKit tutorial at raywenderlich.com has this great paragraph:
Before you start this SiriKit tutorial, some warnings: if you’ve ever been frustrated with Siri, how would you feel having to use Siri for every build and run? Then imagine that debugging was incredibly hard because you’re running in an app extension, and because Siri times out if you pause the debugger for too long. Also, imagine you have to build using a device, because Siri isn’t available on the simulator
Further I’m going to share some complications and pitfalls I encountered and couple of gotchas I’ve got.
(Talking about the theory, I shared some thoughts and explanation about Siri Intents in general in one of my previous posts. You might want to take a look at it)
Simulator
Let’s talk about using simulator for debugging your code. Nowadays all the Siri functionality is available on the simulator and sometimes it works smoothly. But in some cases Siri can just freeze on your request. Sometimes it works in general but doesn’t handle your shortcut (when the device does). Using real device you can encounter the same Siri issues (it’s about the general frustration when debugging Siri interactions), but they happen less frequently.
Another interesting difference between the simulator and the device is App Group (shared User Defaults container). For me when I put some data to the container in the app, I couldn’t get if from the extension (I wasted couple of hours debugging it). When I tried the same code on a device it just worked.
(If you want to dive deeper into sharing the data between the app and its extension welcome to another post of mine dedicated to it)
Code sharing
If you use Siri extensions you quite likely need to share some code and resources between the app itself and the extension.
Move your back-end services to a private framework so that they can be used by your app and your app extensions.
That’s what Apple suggest you to do with that. And that should be your default choice to deal with the problem. But sometimes it might be not so convenient for you especially if you integrate the functionality into a big project full of some legacy code. Creating a separate framework with all the shared code will add some additional complexity where you don’t need it. You might already have some internal framework containing the code you need to share, but you might not want to link the entire framework to the extension target because of just couple of classes. Also the amount of shared code could be too big or the code can be so tightly coupled in your project that it takes weeks or even months to accomplish the encapsulation.
This way you have nothing else to do but to pick the classes and add them to all the required targets one by one.

Managing different targets not only makes the debugging more difficult but brings some more headaches as well.
More targets in the app
You can use shortcuts to just open your application without adding an app extension (read: without additional targets). But for more or less sophisticated logic you need an extension.. or even two (+ 2 targets). Other than the extensions you might want to use watch faces (+ 1 target). If you separate shared logic to a separate framework it’s one more target (+1 extra for the watch).
Check out Apple’s Soup Chef app: it’s just an example for Siri Shortcuts and it’s already has 8 targets. You might not need all of them in your app, but it still brings you more compilation time and some extra complexity in your code and debugging process.
When implementing a feature and debugging you have to run your code under at least 2 different targets: main app and Siri extension (not talking about UI extension or watch app). Each target takes time to compile, when you jump from one target to another it might take significant time. Then you should run exactly the same target you want to debug. Plenty of times I found myself wondering why my breakpoints are not being fired and realising that I just run the wrong target.
If you run the app without a debugger attached and the app crashes - you see it. If your extension crashes without a debugger in most cases your shortcut just doesn’t work, but sometimes you just see Siri having a wrong data as a result (like the shortcut worked but did something wrong). In some cases you cannot tell if your code did something wrong or just crashed. If you have a UI extension as well it’s very difficult to figure out what went wrong in the entire chain Siri(request) - Extension - UI Extension - Siri(response). Consider non zero possibility that Siri itself might fail and it makes it even worse.
Swift-ObjC bridging
In mixed Swift/ObjC project you should remember about the bridging between two languages. We know that we need YourApp-Bridging-Header.h to use ObjC files from Swift and YourApp-Swift.h to use Swift code from ObjC files. But if we had a working project with all the bridging in-place and just created Siri extensions none of these two mechanisms would work by default.
YourApp-Swift.h
YourApp-Swift.h is created automatically by the compiler for each module (target). So if in your app you use YourApp-Swift.h and you called your Siri Extension target SiriIntents new SiriIntents-Swift.h file will be created by the compiler to use within the extension.
Let’s say in your SoupChef project you have an ObjC class SoupView.h/.m which depends on swift model SoupModel.swift and so far you had #import SoupChef-Swift.h in your SoupView.m file and everything worked fine. Now you need to use this SoupView UI class with it’s model for Siri UI Extension to display the soup (SiriIntentsUI target). So what would you do? Just adding SoupView.m to the extension target will not work - the compiler will not be able to find SoupModel class because SoupChef-Swift.h with all the swift classes is not being compiled for the extension. You need to use SiriIntents-Swift.h.
One of the options is to have special preprocessor macros for SiriIntentsUI target. Go to Build Settings -> Preprocessor Macros and for all the configurations within the target add something like SIRI_INTENTS=1. This bool flag will be precompiled when you build the target. So inside your SoupView.m you use it like
#if SIRI_INTENTS
  #import "SiriIntentsUI-Swift.h"
#else
  #import "SoupChef-Swift.h"
#endif
This way your swift classes will be properly linked to the ObjC file in all the targets.
YourApp-Bridging-Header.h
With Bridging-Header.h the situation is a bit different as you have to manually create and maintain the file. Depending on your needs you have two options:
- for your extension you can reuse the same file you had for some other target (the main one, for instance)
- your can create a new bridging-header file specifically for your extension
In big mixed ObjC/Swift projects Bridging-Header.h file might contain dozens or even hundreds of class headers. You don’t need all of them to be compiled for the extension as well as for main target. So you’d better create a separate one and include only classes required for your extension. Just remember to put a proper file path to target’s Build Settings -> Objective-C Bridging Header.
Code generation
That’s one of Siri Intents’ features: you specify intent and response models in .intentdefinitiion file and the compiler creates the actual classes for this models as well as handling protocol and response code enumeration. In Soup Chef app for one intent-response pair you can see all these classes generated for you:
public class OrderSoupIntent: INIntent {}
public protocol OrderSoupIntentHandling: NSObjectProtocol {}
@objc public enum OrderSoupIntentResponseCode: Int {}
public class OrderSoupIntentResponse: INIntentResponse {}
That’s really awesome but you need to remember some nuances.
Watch your targets. Depending on whether or not you use an internal framework for shared code you need to generate classes just for the framework or for you app and extension target.
Watch your targets. If you decided to use an internal framework for you shared Siri-code you need to generate classes for the framework only. The other situation is if you decided to manually add classes to the extension’s target. This way you need to generate these Siri-related classes for the main target (to process opening the app from the extension) as well as for the extension itself.
In some manuals you mind find that you need to add your intent classes to info.plist of your extension (NSExtension key), but current versions of XCode can handle it automatically adding and changing the classes for your intents (but not removing - you have to do it manually if needed).
Watch your language. The code can be generated in both Swift and ObjC. In main target’s Build Settings -> Intent Class Generation Language you can see Swift, Objective-C and Automatic options. Automatic is set by default and for old ObjC-projects it will generate code in Objective-C. So you need to use them via If you prefer your Intent code to be in Swift you have to explicitly assign it.
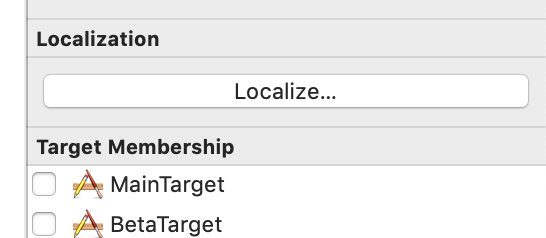
Localization
If your app is localized for several languages you have to consider localization for the shortcuts as well.
Autogenerated classes/protocols/enums are being regenerated all the time you hit Cmd+B/Cmd+R but not the localization files. It’s applicable for all the cases when you have strings files generated by XCode (xib/storyboard localization for instance). Intent localization files are generated with all the strings you’ve added to .intentdefinition when you press the button:
Mostly it relates to localizing types of shortcuts you provide for the user and response templates you provide to Siri as a result of handling the intent.
During the development or maintanance you might need to change your strings or add new ones, but XCode is not going to touch your localization files anymore. So you either have to manually change strings in localization files (like you do with all the rest localization files), or you can remove and regenerate the strings from your .intentdefinition (by manually checking all the checkboxes for different languages again).
Unfortunately autogenerated strings is your only localization option with all these autogenerated keys which don’t tell you anything:
  "ljYqT3" = "Order a soup”;
  "whh3pV" = "Order ${quantity} ${soup}";
My advice is to localise your intents in the very end of the development, when all the responses and phrase suggestions to Siri are figured out for production. Even when you think it’s set aup marketing people in your company might still want to change their mind about such subtle matters, so don’t be in a hurry with that.
Specifically for Siri shortcuts apple introduced new NSString API: deferredLocalizedIntentsString(with:_:). You definitely have to check out its “verbose documentation” 😉
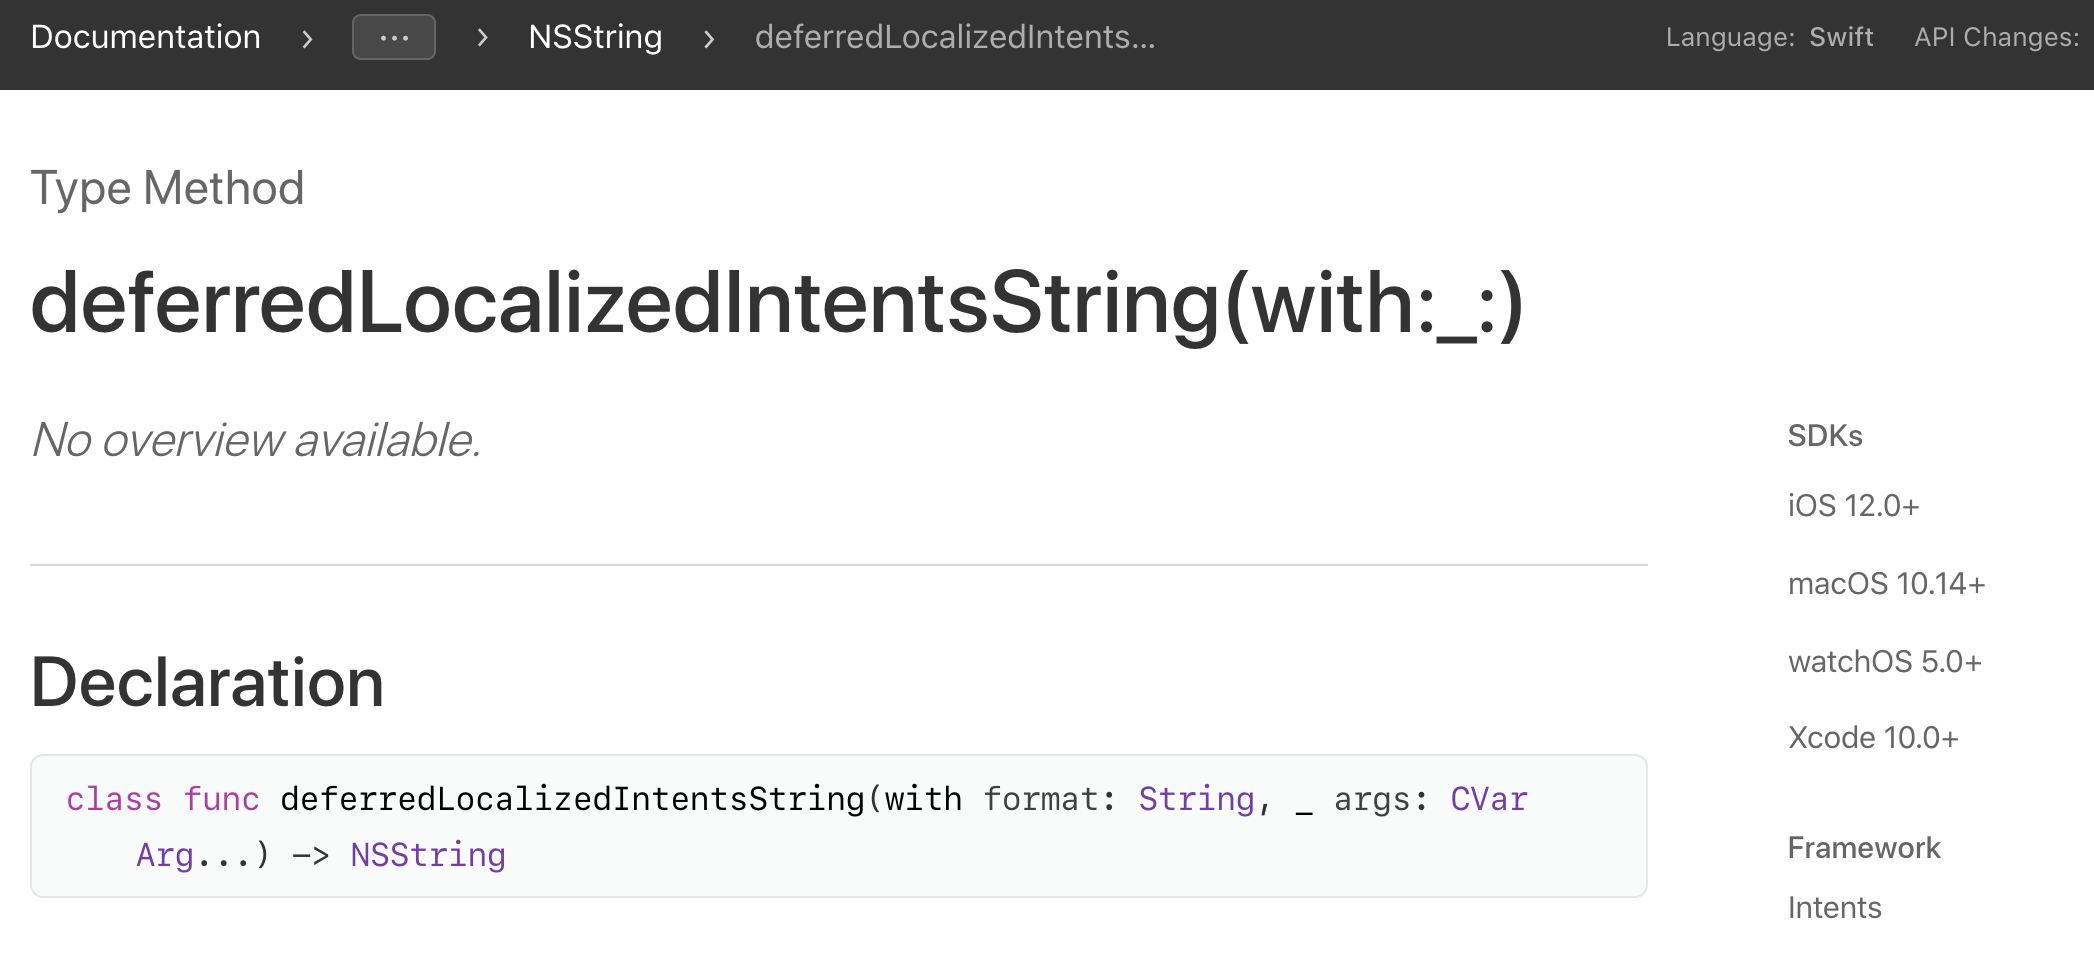
Basically this method lets the system to localize the string not at the moment of donating the intent, which would be the case for NSLocalizedString. Insted the string is being translated at the moment of the shortcut invocation, which might be usable if the device language was changed between these two events.
let displayString = NSString.deferredLocalizedIntentsString(with: menuItem.shortcutLocalizationKey) as String
When localizing Siri Intents Apple highly encourage you to use .stringsdict file together with the regular .strings. In the .stringsdict you can override some strings which require more accurate handling in terms or indefinite articles (a/an) or plurals. The dictionary helps you to handle some specific cases for some strings when you need it.
The second part of this WWDC’18 video is dedicated to localising Siri Shortcuts
Formalities
If you are not new in iOS development you know how many problems you can get if you mess up something about certificates, provisioning profiles or code signing. All the Siri tutorials tell you from the beginning about all these nuances when working with Siri:
- Switch on Siri capability in your target
- Add capabilities to the app id at the developer’s portal
- Generate provisioning profiles for your extensions and properly set up all the capabilities there
- Add permission strings into your
info.plistfile: Privacy – Siri Usage Description
Changing Capabilities influences your app’s entitlements file. By default an extension shares the main target’s entitlement file. So if you don’t want to enable push notification, ApplePay and whatever else you have in your main app, create a separate entitlement file for the extension and put it to Build Settings -> Code Signing Entitlements. So you will have separate set of capabilities for the extension with only necessary minimum.
Intents are being cached in iOS
For users it’s quite a nice feature. They create some shortcuts, remove the app from the device then reinstall it after a while. All the earlier added shortcuts are there, no need to add them again. You can see them in Settings -> Siri & Search -> My Shortcuts even when the app is removed.
We know that prediction is part of Siri Shortcuts functionality. System checks how often your app donates a specific intent, so it can suggest the intent to the user later. For this purpose again some caching is needed. Specifically iOS needs to know what to do with the donated intent: to add it to the list, or to increase the counter of already donated one.
But for the developers it might cause some troubles especially at the development stage. If you want to be sure that your intent was donated to the system for the first time, you should remove all the previously donated intents from the system settings.
The other consequence of caching is that sometimes after you changed the intent (for instance added a new property) the system treats it as the new one. But next time you do some change in the intent’s structure (say changing some strings) and the system keeps on treating it as the same intent (and your strings have old values when being shown to the user).
Failure response.
Apple provides the way to customise a failure responses with the template phrase (as well as successful ones). In Soup Chef app if there is no soup of the kind in stock the extension provides a template “Sorry, ${soup} is out of stock.”, you fill in ${soup}-parameter in app extension code and Siri suppose to use it (display and pronounce).
Works quite strait-forward.. but not in iOS 12.1.
As a workaround you might set the success flag for this response code. The UI and general behaviour for successful responses are different, so it’s quite a dirty hack but at least you provide the message to the user.
I didn’t change if the bug is fixed since then.
Shortcuts debugging tips
Here are some small things which will be useful as you develop your Shortcuts
-
Watch the target you run (I’ve already elaborated this point)
-
Use developer menu in the device settings - there you can find the entire section dedicated to Shortcuts debugging Settings -> Developer

- Use Siri Intent Query in the extension’s scheme settings:

It lets you to launch your extension target with predefined phrase to Siri, like you’ve said it and Siri recognise your words. It doesn’t only save you from mumbling the same phrase again and again while debugging (which is great when you work in an open workspace), but also let you to skip Siri selection window where you have to press an additional button every time you launch the app (which gets really annoying when developing or debugging the feature):

I hope you liked this piece of reading. If you have any questions, suggestions or corrections you can reach me out on Twitter